
Repairing loose arms
As much as we all love our Nisbet dolls, we all hate it when the arms are loose! This is a commonly encountered problem, and can be fixed - but although the process is straightforward, it may be very frustrating to achieve!
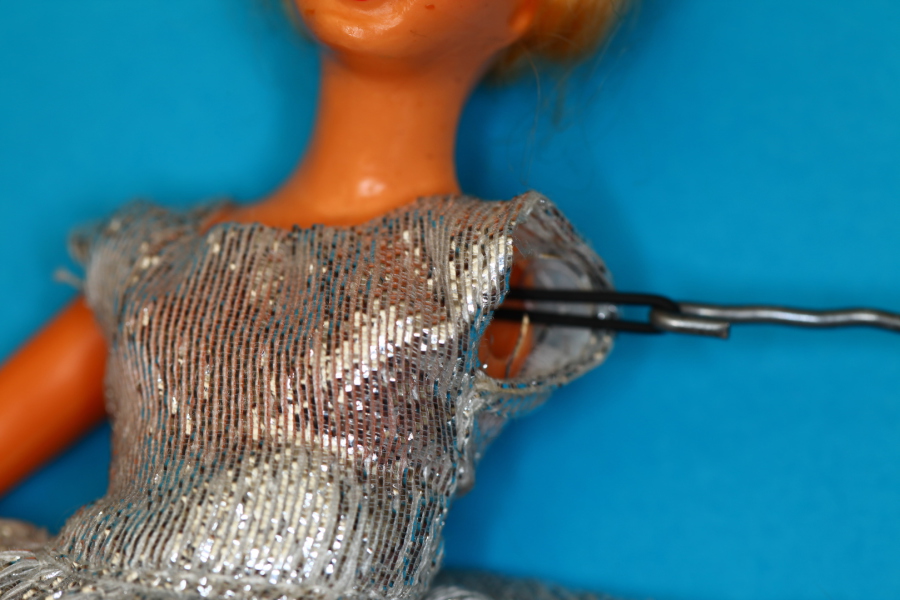
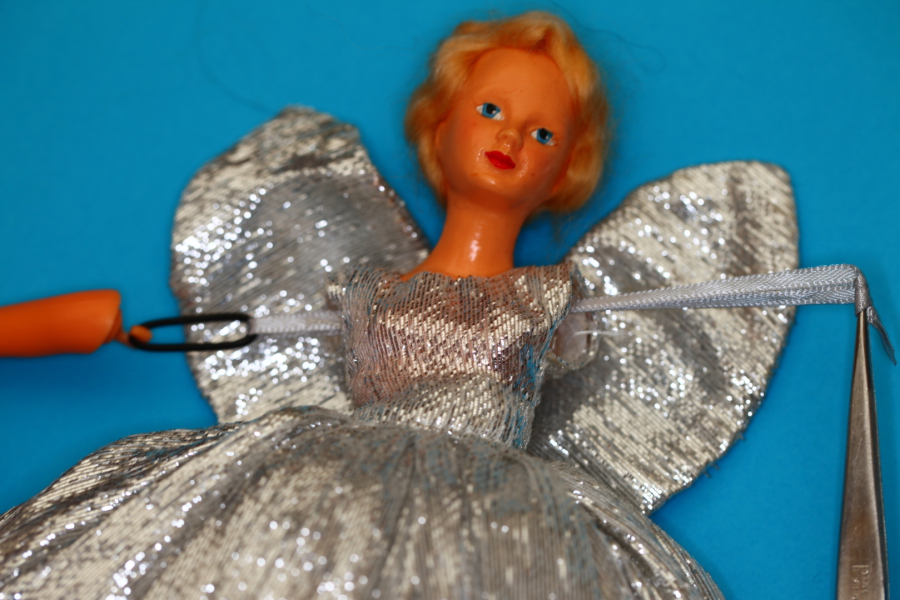
We have used a doll with exposed arms for this photo demonstration, because it is easier to show what is happening, but if your doll has sleeves as part of its costume, (and it usually will have!), the process is invariably more fiddly and complicated
The best thing to do, (if you have courage, and can use a needle and thread!), is to un-pick the bodice at the back of the doll. Most doll costumes are sewn onto the body, so this really is the most effective way to complete the repair. With the rear seam loosened, access to the arm holes is much easier, and the repair is literally a matter of moments to complete. Alternatively, it may be possible to loosen the stitching under an arm of the costume, and complete the repair that way
A quick fix, if you do not fancy fighting with chrochet hooks and elastic bands, is detailed here : The sleeves on most costumes are so narrow that they will retain loose arms in position anyway, but if they are hanging to the knees, it is possible to slip the arms back up the sleeves, and retain them in the correct position by tightening the cuff at the wrist, with a couple of small stitches, using a thread of suitable colour
Why does it happen?
The elastic bands used to hold the dolls' arms in place were made from natural rubber, made from the sap of the rubber tree.
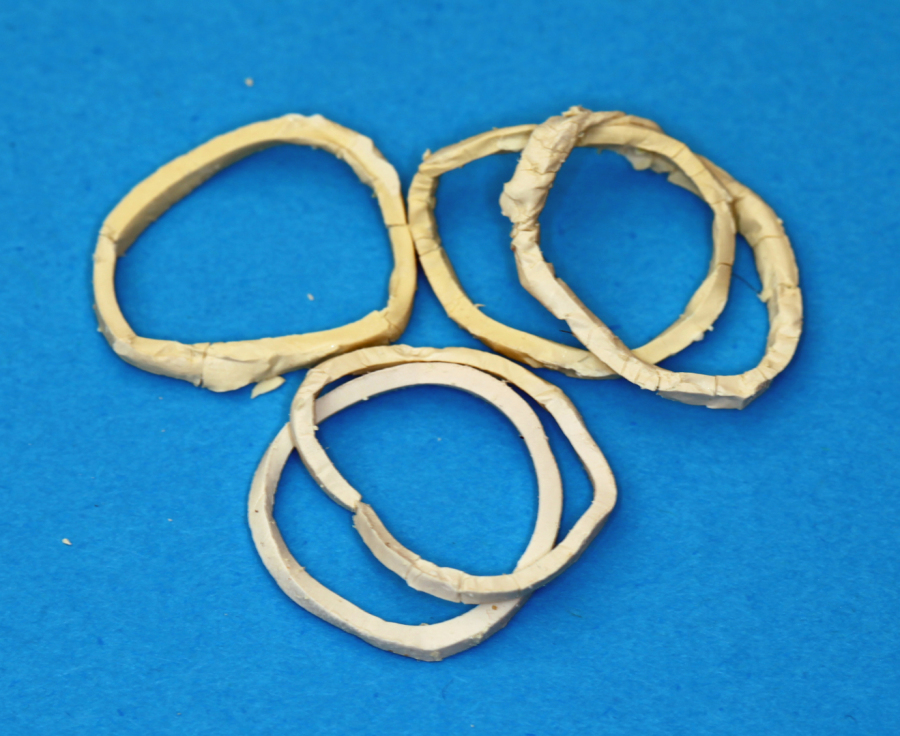
Over time, the rubber oxidizes, and "perishes" - it looses its flexibility, goes hard, and crumbles into short, broken lengths, crumbs, and dust - (like the rubber bands shown in this picture)
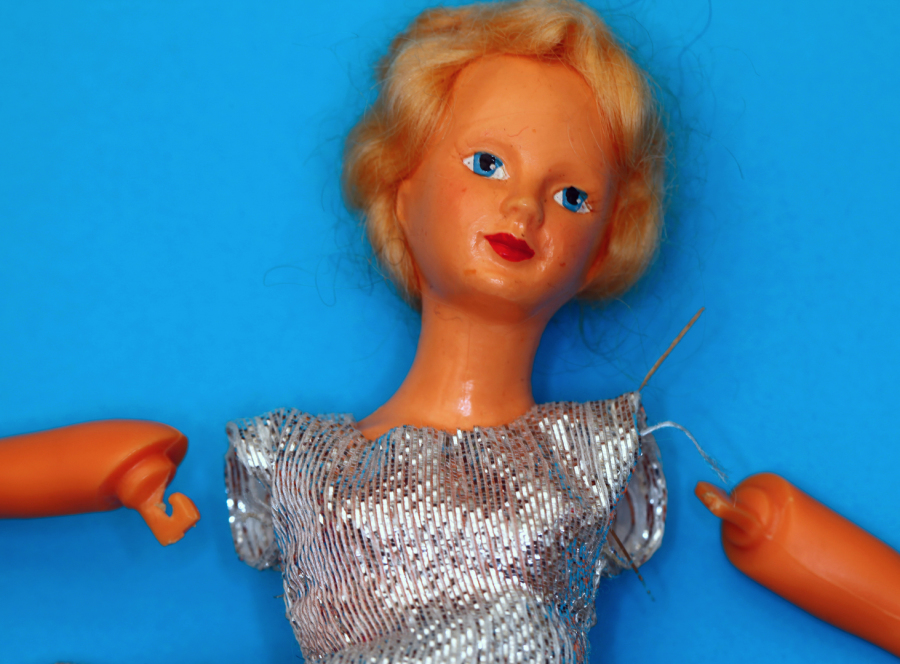
The perished elastic band can no longer hold the doll's arms in place, and as the band stretches and breaks, the arms become loose, and may even fall out of the doll's body, as has happened here
What things do I need, to fix the doll?
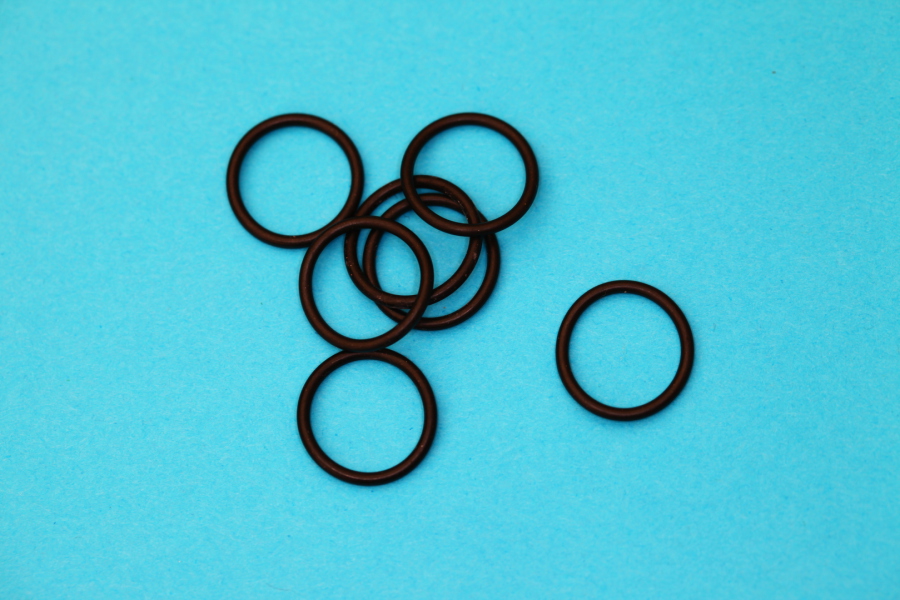
A suitable elastic band
like those shown here (The colour is not important - the band will not be seen)
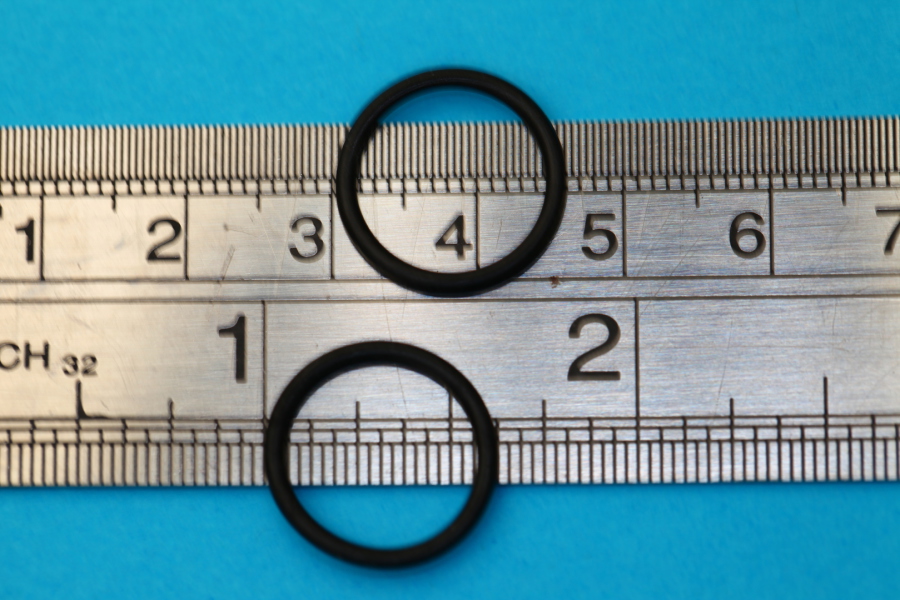
The elastic band should be approximately 1.5cm (3/4 inch) diameter, or even slightly smaller
If you can't find a band this small, then loop the smallest you can find 2 or 3 times, to achieve this dimension
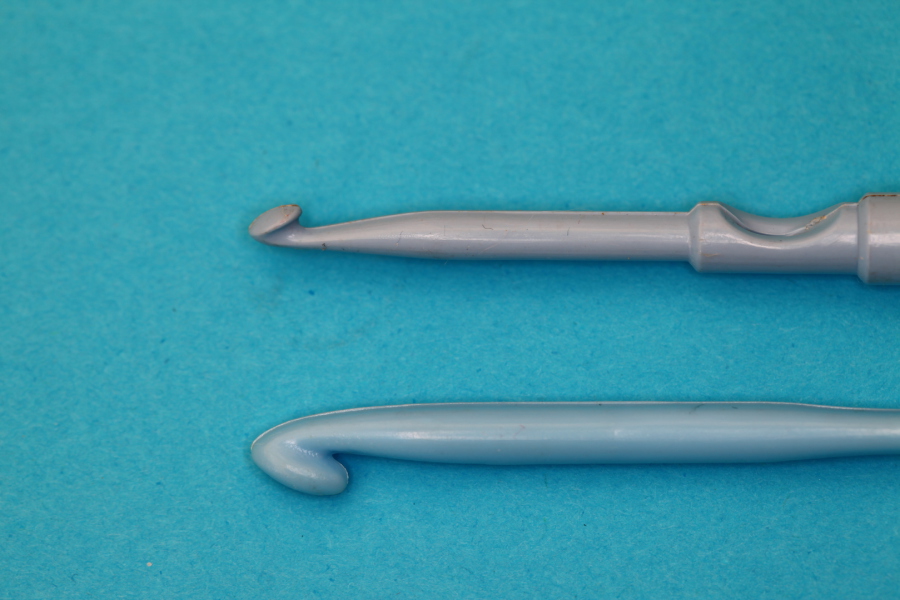
A Crochet Hook
(Any suitable size will do - as long as the hook is big enough to hold the band)

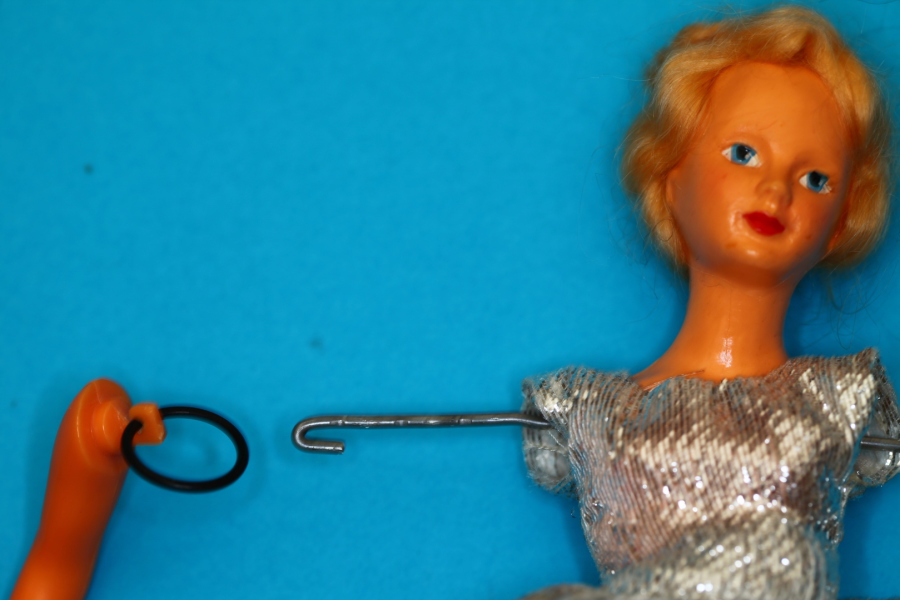
If you can't find a Crochet hook, you can make a suitable tool, using a piece of thick wire (we used this large size paper clip)
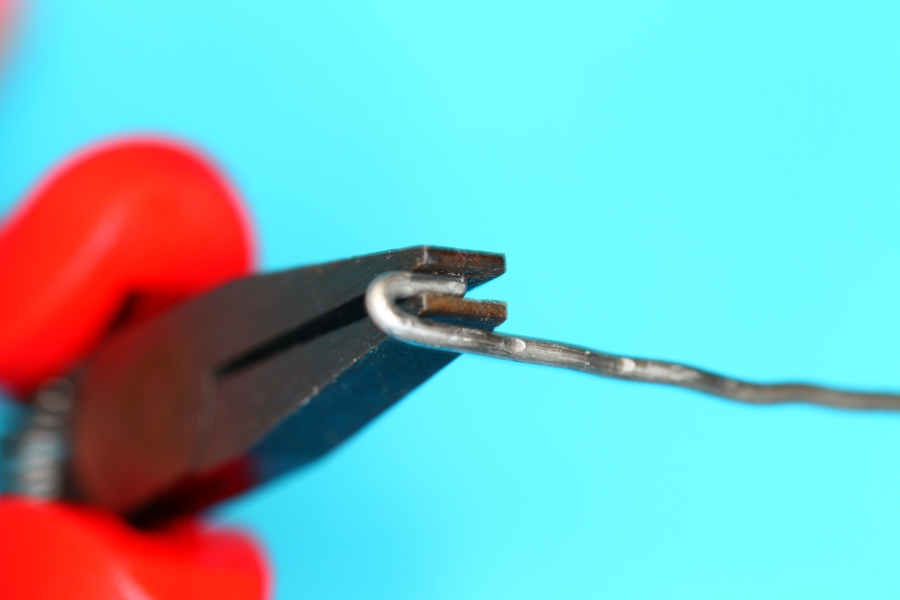
Once you have straightened one end of the paper clip or wire, use a pair of pliers, to form the free end into a small hook, as shown
(Tip : Don't make the hook too large, as it will be more difficult to thread through the doll's clothes)
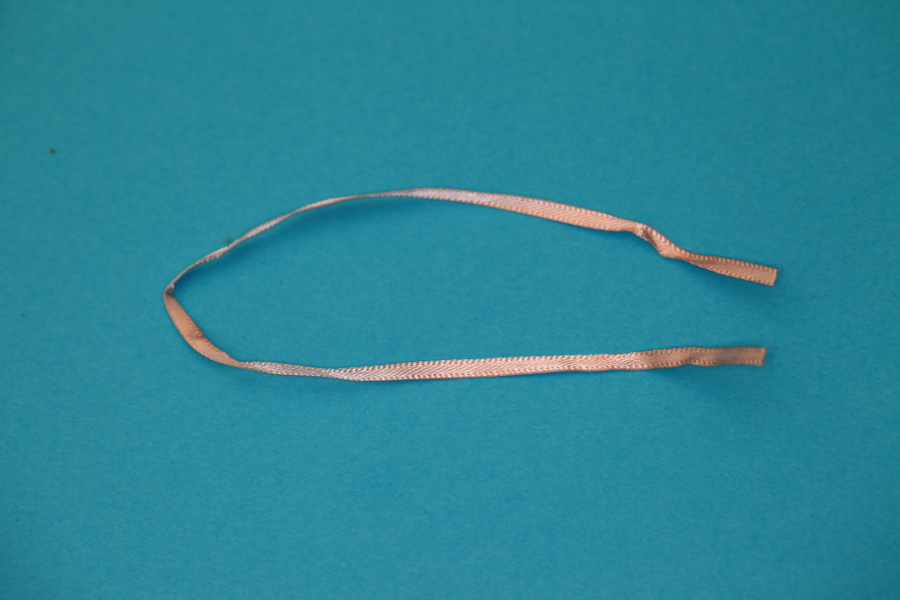
If you can't find a Crochet Hook, or a suitable piece of stiff wire, it is possible to use a piece of thin twine, cord, or flat ribbon, (if narrow enough)
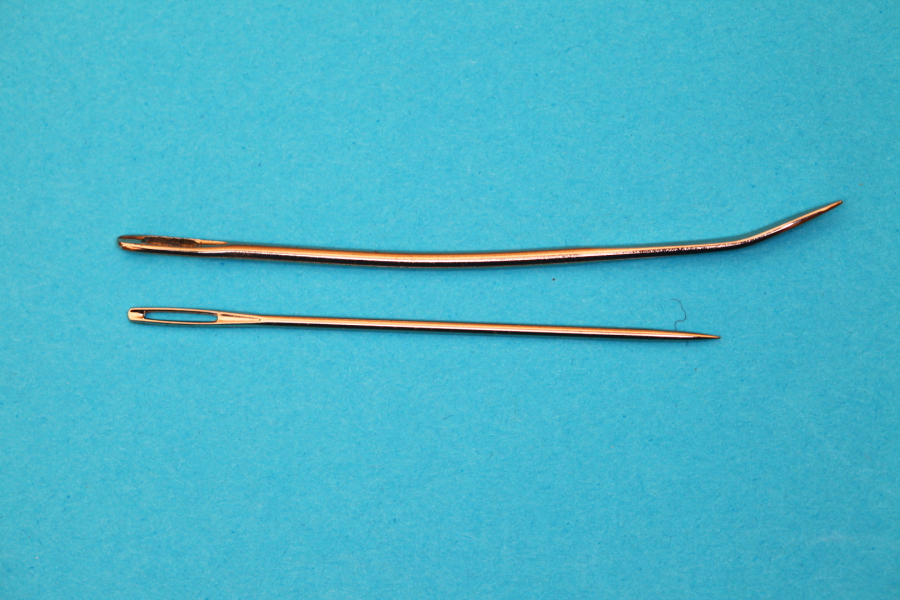
When using twine, cord or ribbon, you may also need a large darning needle, to assist in threading the loop through the doll's sleeves and body
(Take care when using the needle!)
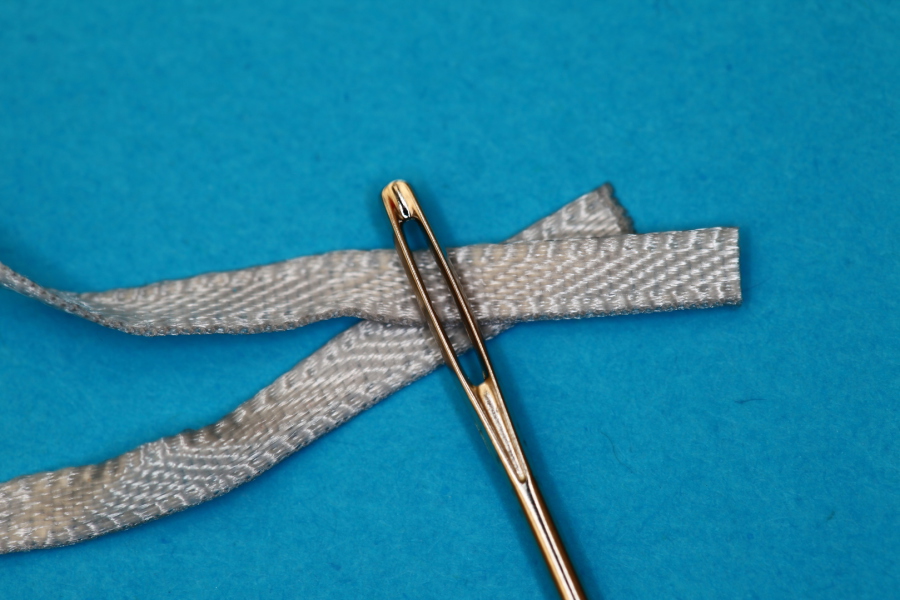
Make sure that the eye of the needle is large enough to take both ends of the twine, cord, or ribbon at the same time
What next?
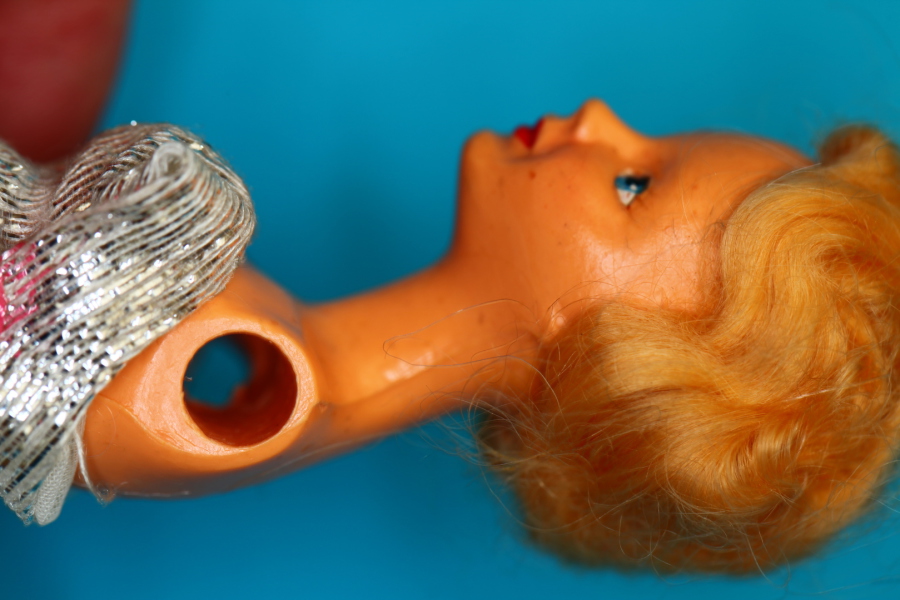
First, check that the arm hole through the doll's body is clear and free of debris
(If, because of clothing, it isn't possibe to see the arm hole clearly, make sure you can thread the hook or cord through easily)
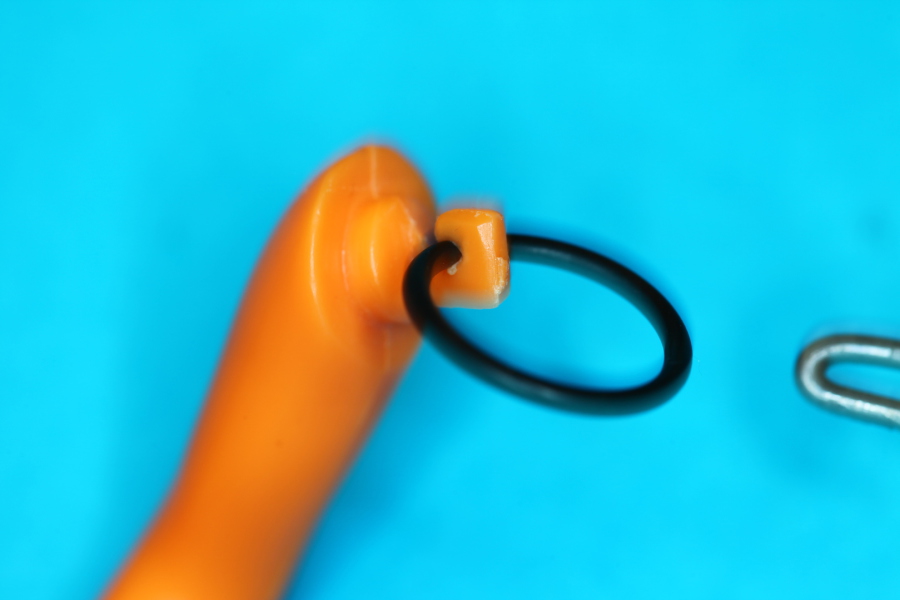
Fit the elastic band securely into the hook on the end of the doll's arm
Make sure it is caught in the notch of the hook, as shown!
Thread the hook through the arm hole of the doll, and catch the elastic band and arm assembly securely
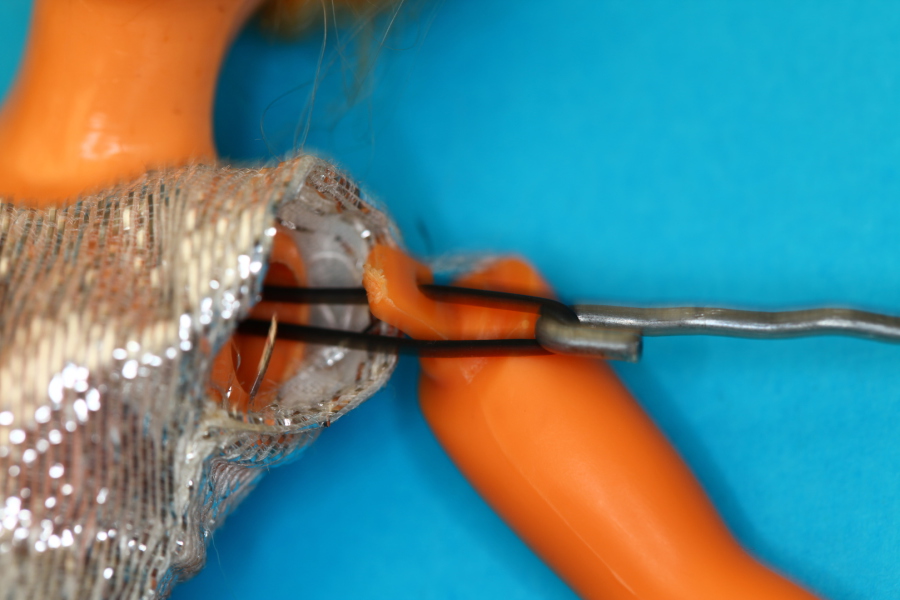
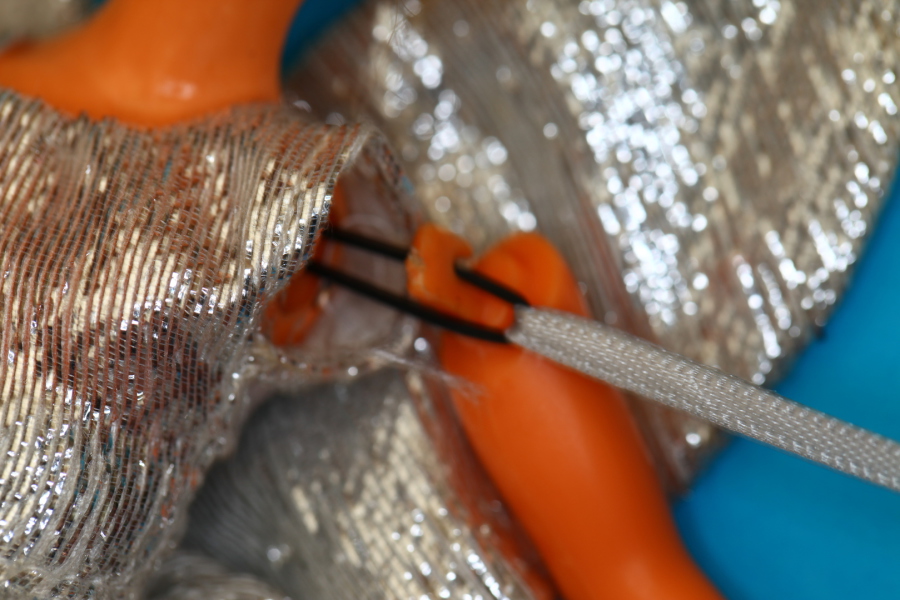
Pull on the hook to seat the first arm into the doll's body, and continue applying enough tension to expose a small loop of the elastic band, as shown here
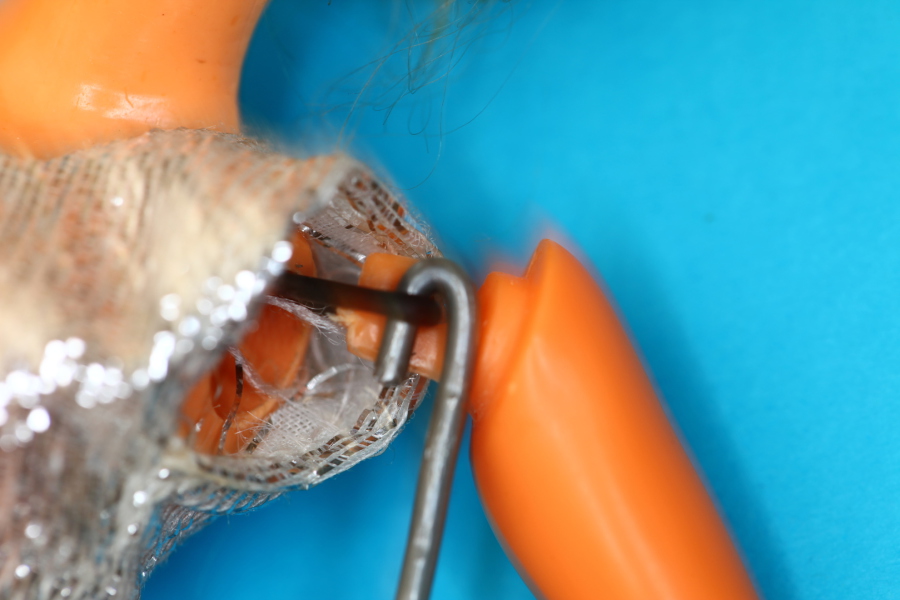
Slip the hook of the other arm into the loop of the elastic band, making sure that it has caught securely in the notch of the hook, as shown
Carefully remove the hook from the band, and re-position the arm correctly into the arm hole in the doll's body
Finished!
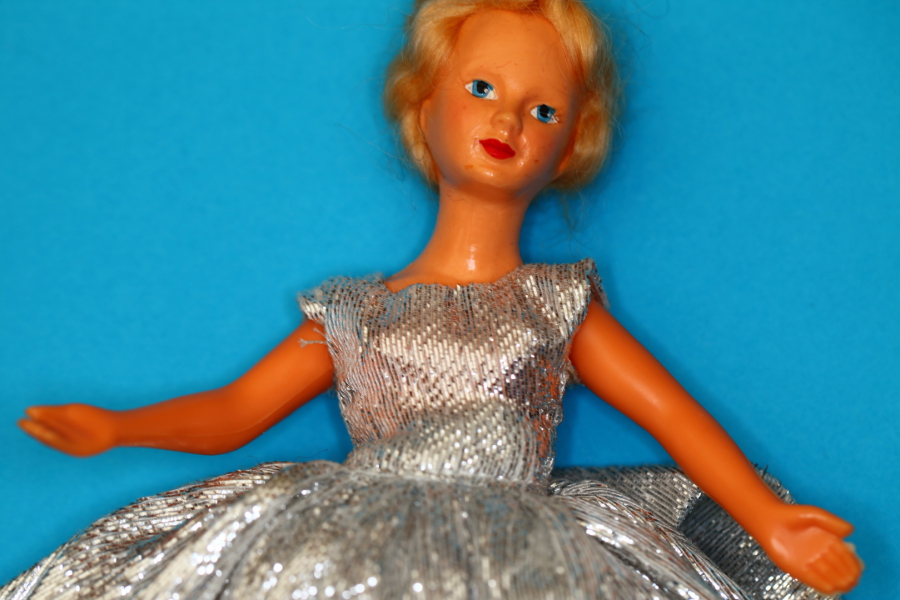
Arms securely re-fitted!
Happy Doll!
Happy Owner!
Alternative repair process using a loop of cord or ribbon :
When using cord, twine, or ribbon, the repair method is exactly the same, except that the elastic band has to be threaded onto the cord before proceeding, as shown here

Pull on the loop of cord or ribbon to seat the arm into the doll, and continue applying enough tension to expose a small loop of the elastic band, as shown
Slip the hook of the other arm into the loop of the elastic band, making sure that it has caught securely in the notch of the hook, as shown
Carefully remove the loop of cord or ribbon from the band, and re-position the arm correctly into the arm hole in the doll's body
News

21st September 2023
Important Announcement
My dear wife, Christine, passed away on the 8th December, 2021, after 8 weeks in hospital. I was by her side, when she slipped away from me peacefully, with no pain or suffering.
Chris had been struggling with a slow decline in health, associated with a progressive, untreatable, and ultimately terminal lung disease, and finally succumbed to her old adversary, Pneumonia.
We had been friends for 55 years, together as a couple for 50 years, and married just a month short of 48 years, when she died.
This website was Chris's idea, and I did all the technical stuff, to make it work. After news of Chris's passing reached her close friends in the doll collecting world, I was deeply touched and gratified to hear their tributes to my dear wife, and I must thank them all for their kindness and support. Ultimately, it was her doll friends that gave me the courage to continue with the website.
In the months before her eventual hospitalisation, Chris had outlined a number of additions and changes she wanted to make to the website, and it is my intention to honour those wishes, and to implement the changes we had considered, over the coming weeks and months.
I must apologise to all those who have written to us via the website, only to have your emails go unanswered. Unfortunately, the email system had been hacked aroung the time Chris was going into hospital, and many emails must have been lost, as a result.
As you might imagine, I felt completely broken by Chris's loss, and it is only now, almost 22 months after her passing, that I have felt strong enough to even look at the website again.
My aim is to continue with the website, and to implement Chris's aims for her many new ideas as soon as I can. In the meantime, I have hopefully got the email system sorted out, and I will attempt to answer any enquiries as soon as I can, and to send replies with the same high degree of accuracy that a reply from Chris would have had.
From now on, I will be flying solo, whilst my co-pilot and guide will be soaring much higher, (though she is always in my heart, and in my thoughts).
My thanks to all our website visitors for your continued support
Dave (also known as Arthur), and Chris, (my lost love, Guinevere)
Christine Poulten
25th December 1949 - 8th December 2021